
random group generator
How to Use Random Group Generator: A Complete Step-by-Step Guide
Learn how to use a random group generator to create fair, balanced classroom groups and workplace teams. Follow practical steps, examples, and group-making tips.
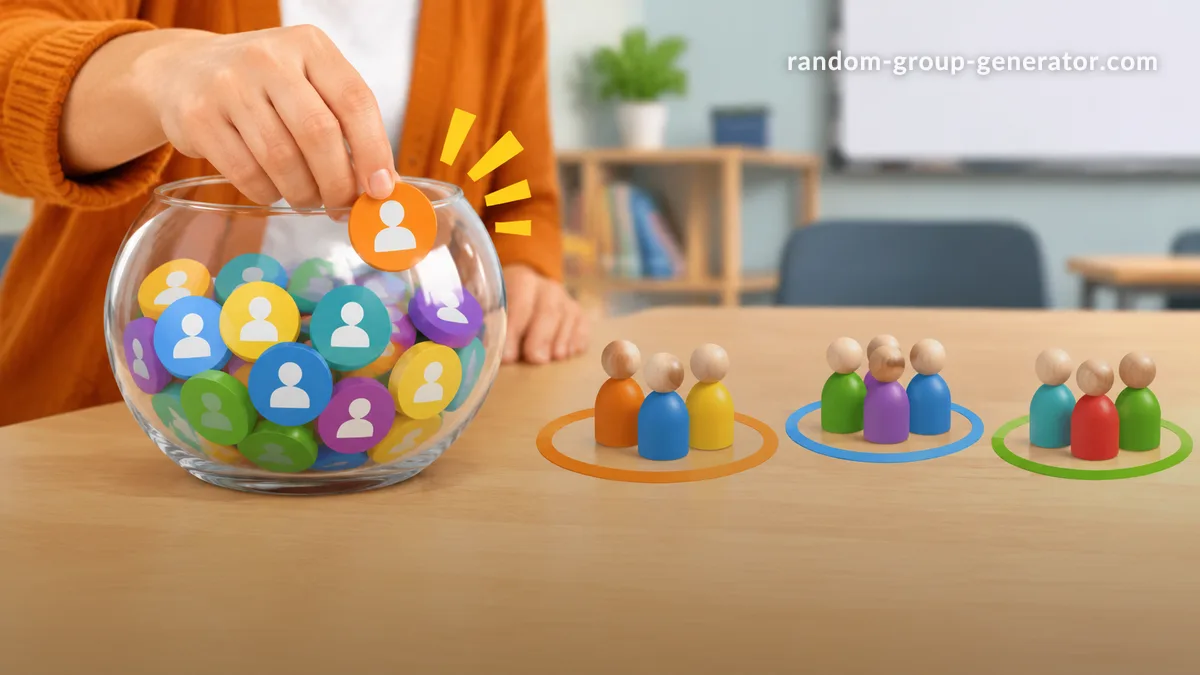
Dividing people into teams sounds simple until you have 25 students waiting for a classroom activity or 40 employees preparing for a workshop. Choosing groups manually takes time, and letting people pick their own partners can leave some participants feeling excluded. Learning how to use random group generator tools gives teachers, trainers, and event organizers a practical way to create groups without spending valuable time sorting names. This guide explains how to prepare your list, generate teams, check the results, and use random grouping effectively in real situations.
What Is a Random Group Generator?
A random group generator is an online tool that takes a list of participants and distributes them into smaller groups automatically. Instead of asking people to count off, selecting names manually, or arranging teams one person at a time, you enter a roster and let the generator organize the participants. The result is a ready-to-use group assignment that can be copied and shared.
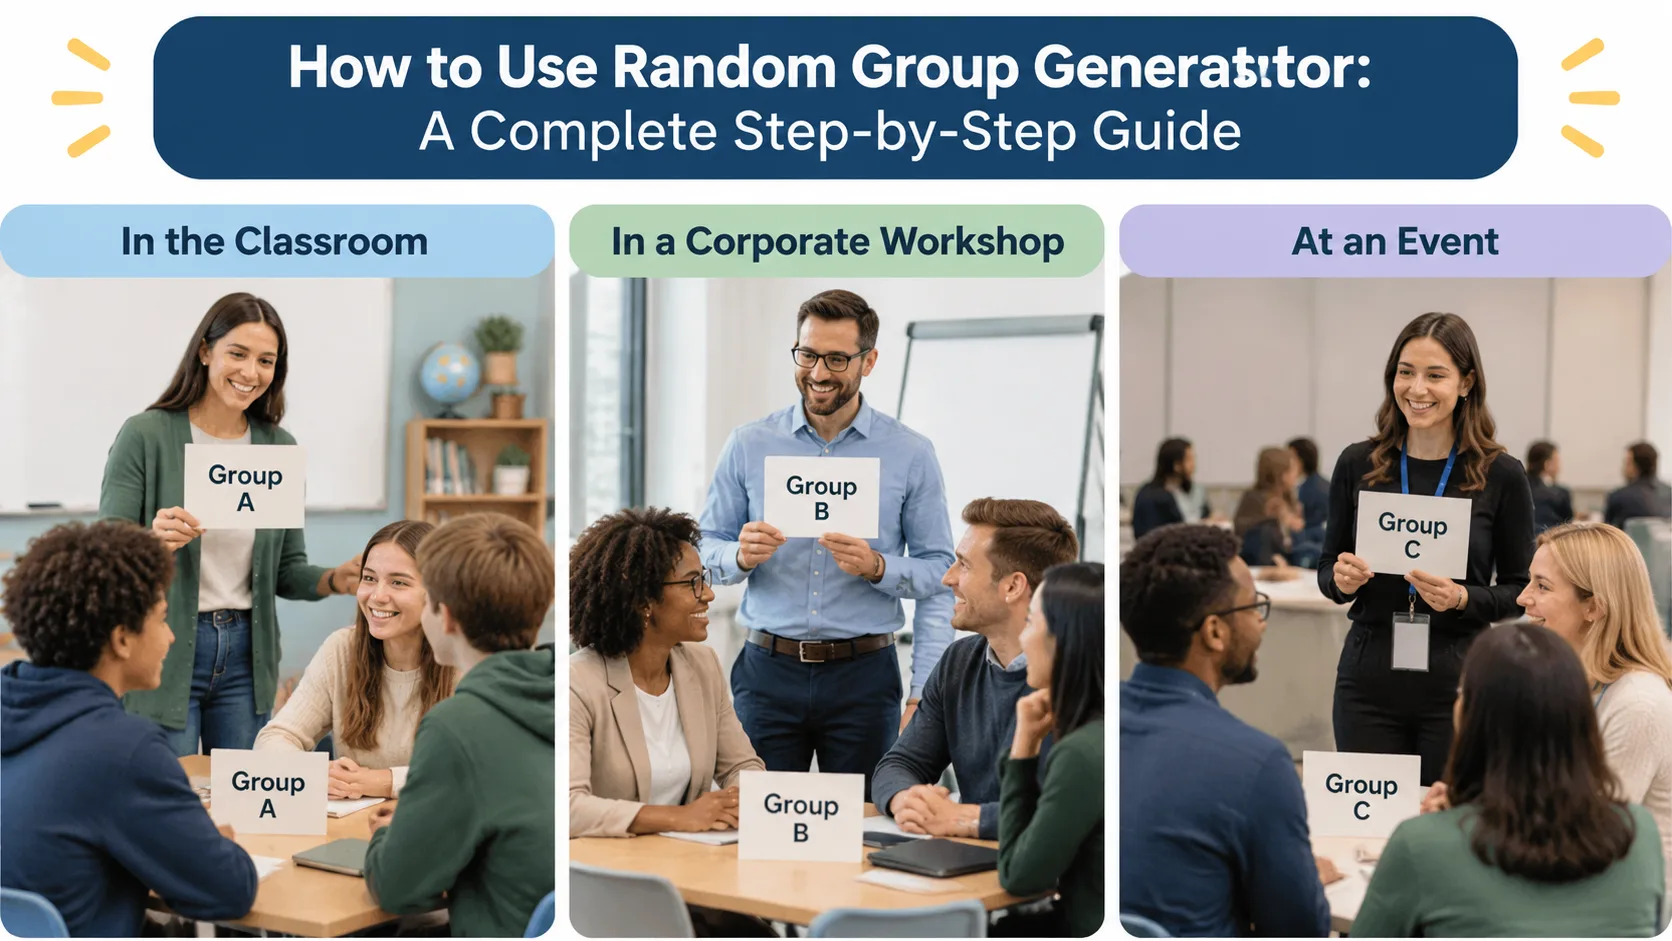
Teachers commonly use random grouping for classroom discussions, science experiments, reading activities, and collaborative projects. Corporate trainers can use it to organize breakout sessions, training exercises, and brainstorming teams. Event organizers may use the same approach to divide attendees into game teams or discussion tables.
The main advantage is consistency. Everyone on the participant list has an opportunity to be assigned without the facilitator having to make individual choices. It also reduces the influence of friendship groups, personal preferences, and unconscious selection habits.
However, random grouping and balanced grouping are not always the same thing. A random process can distribute people evenly by number, but it cannot automatically understand their experience, learning needs, language preferences, or personalities. The best approach is to use random assignment as a starting point and apply professional judgment when the activity requires additional considerations.
Why Use a Random Group Generator Instead of Assigning Teams Manually?
Manual grouping can work well for a small activity, but it becomes increasingly inconvenient when a roster contains many participants. A teacher might spend several minutes moving student names between teams while the rest of the class waits. A workshop facilitator may have to repeat the same process for several breakout sessions. These small delays can interrupt the flow of an otherwise well-planned activity.
A random group generator simplifies the administrative part of team formation. You provide the names and choose how participants should be divided. The tool handles the allocation, leaving you more time to explain the task, prepare materials, and support the groups once they begin working.
Another benefit is transparency. When participants understand that assignments were generated through a random process, they can see that the facilitator did not deliberately select particular people for particular teams. This can be helpful when organizing classroom games, short discussions, and informal workplace activities.
Consider a teacher with 28 students who needs four teams for a geography challenge. Assigning students manually requires checking every name and counting each team. A generator can distribute the roster into four groups of seven, making the initial organization straightforward.
Random assignment is particularly useful when:
- You want students to work with classmates outside their usual friendship groups.
- Employees need new combinations for short collaborative exercises.
- Participants must be divided quickly before a workshop begins.
- You want to repeat a group activity with different team combinations.
- You need a clear allocation process that is easy to explain.
For long-term projects involving grades, specialist skills, or sensitive interpersonal considerations, intentional team formation may be more appropriate. Randomization should support good facilitation, not replace it.
How to Use Random Group Generator Step by Step
The basic process is straightforward: prepare your roster, decide how many teams you need, generate the assignments, and review the results. You do not need advanced technical knowledge to organize a classroom or workplace activity.
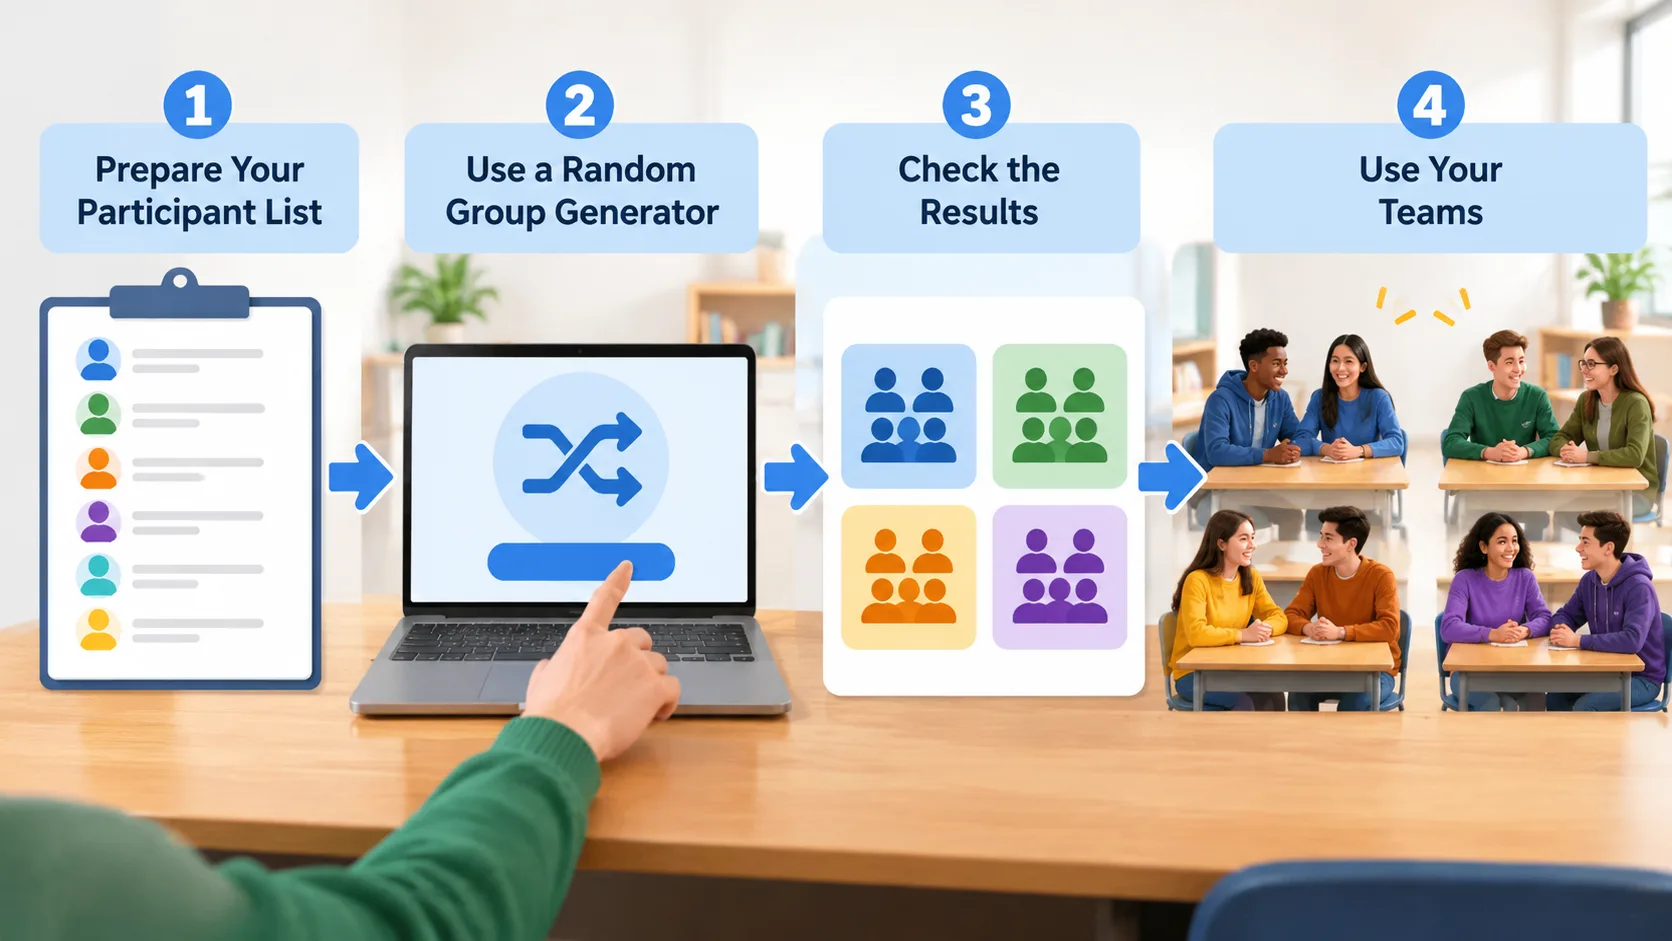
Step 1: Prepare Your Participant List
Start by collecting the names of everyone who should participate. You can prepare the roster in a spreadsheet, document, or plain-text list before opening the generator.
For example, a teacher organizing a classroom activity might prepare the following names:
- Alex
- Bailey
- Cameron
- Daniel
- Emma
- Fatima
- Grace
- Henry
- Isabella
- Jacob
- Kelly
- Liam
Keep each participant on a separate line when possible. This makes it easier to check the list and identify mistakes before generating groups.
Pay attention to duplicate names. If two students have the same first name, use an initial or another identifying label, such as Alex M. and Alex R. This prevents confusion when announcing the results. Also remove blank lines, test entries, and people who are not participating.
Step 2: Open the Random Group Generator
Visit the Random Group Generator to access the main grouping tool. It is designed for dividing a participant list into multiple teams rather than selecting just one individual or creating only pairs.
Paste or enter your prepared names into the participant list field. Check that every intended participant appears once. If you are organizing a workshop, for example, make sure that remote attendees and in-person participants are both included if they will take part in the same activity.
Taking a moment to review the roster now prevents problems later. A missing participant or duplicated name can affect the final allocation even when the generator works as expected.
Step 3: Choose the Number of Groups
Next, decide how many teams you want to create. Your choice should depend on the activity, available time, and number of participants.
For example, a class of 24 students could be divided into:
- Three groups of eight.
- Four groups of six.
- Six groups of four.
- Eight groups of three.
Each arrangement creates a different working environment. Larger teams can combine more ideas and skills, but individual participation may become harder to manage. Smaller teams can make it easier for everyone to contribute, although they provide fewer perspectives.
Cornell University's Center for Teaching Innovation recommends considering group size alongside the complexity of the assigned task. Its guidance discusses groups of four to five as a useful general arrangement while recognizing that activity requirements matter.
For a short discussion, groups of three or four may be sufficient. A project involving several research tasks might need larger teams with clearly assigned responsibilities.
Step 4: Generate Your Groups
Once the participant list and group settings are ready, run the generator. The tool distributes the names into the requested groups and presents the resulting assignments.
Take a moment to inspect the output. Check that everyone is included and that the group sizes make sense. If your participant total cannot be divided evenly, some teams may contain one more person than others.
For example, dividing 25 participants into four groups results in one possible distribution of seven, six, six, and six. This is a practical way to include everyone without creating an unusually small remaining team.
If you want a different arrangement, adjust the settings and generate again. Remember that a new random arrangement may change the membership of every group, so review the complete result rather than assuming only one team has changed.
Step 5: Share the Results and Start the Activity
After checking the assignments, communicate them to participants. You can display the results on a classroom screen, copy them into a shared document, or announce each group before the activity begins.
For an online workshop, share the assignments in the appropriate meeting chat or collaboration space. If your organization uses Zoom, Microsoft Teams, or another meeting platform, the facilitator can use the generated lists when organizing breakout rooms. This does not mean that the generator automatically creates those rooms; the facilitator should complete the meeting setup separately.
Finally, explain the task and expected outcome. Tell participants what they need to accomplish, how much time they have, and whether everyone should contribute a specific part.
Practical Examples: Using Random Groups in Real Situations
Understanding how to use random group generator tools becomes easier when you connect the process to everyday teaching and facilitation challenges. The same basic workflow can support different activities, but the way you prepare and manage each group should reflect its purpose.
Example 1: Creating Classroom Discussion Groups
Imagine a middle school teacher has 30 students and wants to organize a discussion about environmental protection. The teacher decides to create six teams of five students each.
First, the teacher prepares a complete class roster and removes any accidental duplicate entries. Next, the teacher enters the names into the generator and selects six groups. After generating the teams, the teacher checks the assignments and makes any necessary adjustments for accessibility or classroom support.
Each team receives a different discussion question, such as reducing plastic waste, protecting local wildlife, or saving energy. Students spend ten minutes discussing their ideas before presenting a short summary.
The random assignment helps students interact with classmates they might not normally choose. The teacher can also rotate the groups during future lessons to give students opportunities to collaborate with different peers.
Example 2: Organizing Corporate Training Teams
A corporate trainer is preparing a communication workshop for 32 employees from different departments. The goal is to encourage participants to exchange ideas rather than remain with their usual colleagues.
The trainer enters the employee roster and creates four groups of eight. Once the assignments are ready, the trainer checks whether the teams can participate in the planned exercise and adjusts the allocation if a specific operational requirement exists.
Each team receives a workplace scenario and has 15 minutes to develop a proposed solution. One participant records the main points, another manages time, and another presents the final recommendations. Roles can rotate during the next exercise.
This method makes the initial allocation easier while giving the facilitator more time to prepare useful discussion questions and support the activity.
Example 3: Dividing Event Participants Into Game Teams
An event organizer has 45 attendees and plans a series of team challenges. Instead of allowing guests to form groups among their friends, the organizer creates nine teams of five.
The organizer prepares the attendee list before the event, generates the groups, and prints or shares the assignments. When participants arrive, they can find their team without waiting for the organizer to distribute names manually.
For a longer event, the organizer might generate new teams for a later activity. Changing team combinations can help people meet additional attendees and experience different collaborative settings.
How to Make Random Groups More Balanced and Effective
A random allocation can be equal in size without being equal in experience or ability. This distinction matters when group membership affects the quality of a learning activity, the workload distribution, or the responsibilities assigned to individual participants.
For a short icebreaker, random assignment may be all you need. For a semester-long research project, however, you might need to consider previous experience, specialist knowledge, accessibility requirements, or scheduling limitations before finalizing the teams.
Here are practical ways to improve the results:
- Choose an appropriate group size. Consider the amount of work, expected discussion, and time available. Smaller teams often make it easier for everyone to participate.
- Check important requirements. Review whether any participants need particular resources, accommodations, or support.
- Distribute responsibilities. Give each team member a clear role, such as facilitator, researcher, note-taker, or presenter.
- Rotate roles. Avoid allowing the same participants to lead or handle administrative tasks every time.
- Review the final allocation. Check for obvious practical problems before announcing the groups.
- Set clear expectations. Explain individual responsibilities and what the team must produce.
For example, a teacher organizing a laboratory activity may need to ensure that each group has access to the required equipment. Even if the generator creates evenly sized teams, the teacher should check that the arrangement works with the available resources.
The University of Waterloo's teaching guidance also emphasizes explaining the purpose of group activities, preparing clear instructions, and allowing sufficient time for collaboration. These steps help turn a simple group assignment into a more organized learning experience.
Random Group Generator vs. Other Grouping Methods
Random assignment is not the only way to form teams. Understanding the alternatives helps you choose a method that matches your activity instead of using the same approach for every situation.
| Grouping method | Best suited for | Main consideration |
|---|---|---|
| Random grouping | Short activities and varied collaboration | Does not automatically balance individual skills |
| Self-selected groups | Activities where participant choice matters | Some people may be excluded or left without a team |
| Teacher-assigned groups | Long-term learning projects | Requires more preparation and knowledge of participants |
| Skill-based grouping | Tasks requiring specific experience levels | Requires reliable information about participants |
| Random pair assignment | Interviews, peer review, and partner exercises | Designed for two-person combinations rather than larger teams |
If you only need two-person combinations, a dedicated Random Pair Generator is a more direct option. It is useful for speaking practice, peer feedback, and partner discussions.
If your main goal is selecting one student to answer a question, use the Random Student Picker instead. It serves a different purpose from assigning an entire class to teams.
Once your groups are created, you can also use the Group Name Generator to give each team a memorable identity. Names can make it easier to refer to teams during classroom challenges, workshops, and collaborative games.
Common Mistakes to Avoid When Creating Random Groups
Even a straightforward grouping process can produce confusing results if the roster or activity requirements are not prepared carefully. Most problems are easy to prevent with a quick review before and after generation.
Entering incomplete participant lists: If someone is missing from the original roster, the generator cannot assign that person. Compare the entered names with your attendance or registration list before generating groups.
Ignoring duplicate names: Two participants with identical names may appear to be one person when the results are announced. Add initials or another distinguishing label where needed.
Choosing groups that are too large: A team with too many participants can make it difficult for everyone to contribute. Match group size to the work rather than simply trying to minimize the number of teams.
Assuming random means balanced by ability: A name-based allocation does not automatically know who has previous experience, specialist skills, or additional learning needs. Review the results whenever those factors matter.
Regenerating without checking the changes: A new shuffle can produce completely different teams. Always review the latest output and communicate only the final assignments.
Failing to explain the activity: Group membership alone does not tell participants what to do. Provide a clear objective, time limit, instructions, and expected outcome.
A useful routine is to check the roster before generation, inspect the assignments afterward, and explain the task before participants begin working. This small preparation process can prevent many avoidable interruptions.
Frequently Asked Questions
How do I use a random group generator?
Prepare a list of participant names, open the generator, and enter the roster. Choose how many groups you need, generate the assignments, and review the results before sharing them. You can then display or copy the team lists for your activity.
Can a random group generator create equal-sized teams?
Yes, a group generator can distribute participants as evenly as possible. When the total number of people cannot be divided equally, some teams will need one additional participant. For example, 22 people divided into four teams can produce groups of six, six, five, and five.
Is random grouping fair for students?
Random grouping can provide a transparent alternative to always allowing students to choose their own partners. However, equal opportunity in assignment does not guarantee that every team has the same skills, experience, or support needs. Teachers should review the results when specific educational or accessibility considerations apply.
What is the best group size for classroom activities?
The ideal size depends on the activity and its learning objectives. Groups of three or four can work well for short discussions, while more complex projects may need larger teams. Consider how much work each participant needs to complete and whether everyone will have an opportunity to contribute.
Can I use a random group generator for workplace teams?
Yes. Trainers, managers, and workshop facilitators can use random grouping to organize brainstorming sessions, onboarding exercises, communication workshops, and team challenges. For long-term projects, review skills, responsibilities, and scheduling requirements before confirming the assignments.
Should I use random groups or let participants choose their own teams?
Random grouping is useful when you want to introduce new combinations and avoid repeated friendship-based or colleague-based selections. Self-selection can be appropriate when participants need control over their partners or have specific project preferences. Choose the approach that best supports the activity and its participants.
Can I change the groups after generating them?
Yes. You can review the generated assignments and make practical adjustments when necessary. For example, a teacher may need to account for classroom resources or an organizer may need to accommodate a late registration. If you generate a new random arrangement, check the complete result again before sharing it.
Start Creating Your Random Groups
Organizing participants should not take longer than the activity itself. A random group generator provides a simple way to divide a roster, reduce manual sorting, and get classroom or workplace activities started.
The most effective process combines a clean participant list, an appropriate group size, a quick review of the results, and clear instructions for everyone involved. Use random assignment for activities where varied team combinations are useful, and apply intentional adjustments when individual needs or project requirements make them necessary.
Ready to organize your next classroom activity, workshop, or team challenge? Open the Random Group Generator, enter your participant names, choose your group arrangement, and create your teams in a few simple steps.
Related Tools
Pick the right generator for the job — every tool runs free in your browser.